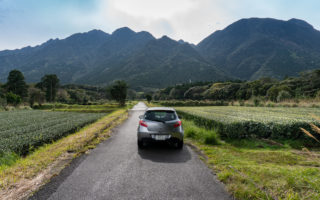
Mt. Arashima is listed as on one of the 100 best mountains (Hyakumeizan) in Japan. Located in i a very rural area of Fukui Prefecture it is not one of the most easily accessible mountains for hiking. However that makes it even more special, as you will only meet the odd hiker on the trails.
Hotels in Fukui Hokuriku Arch Train Pass
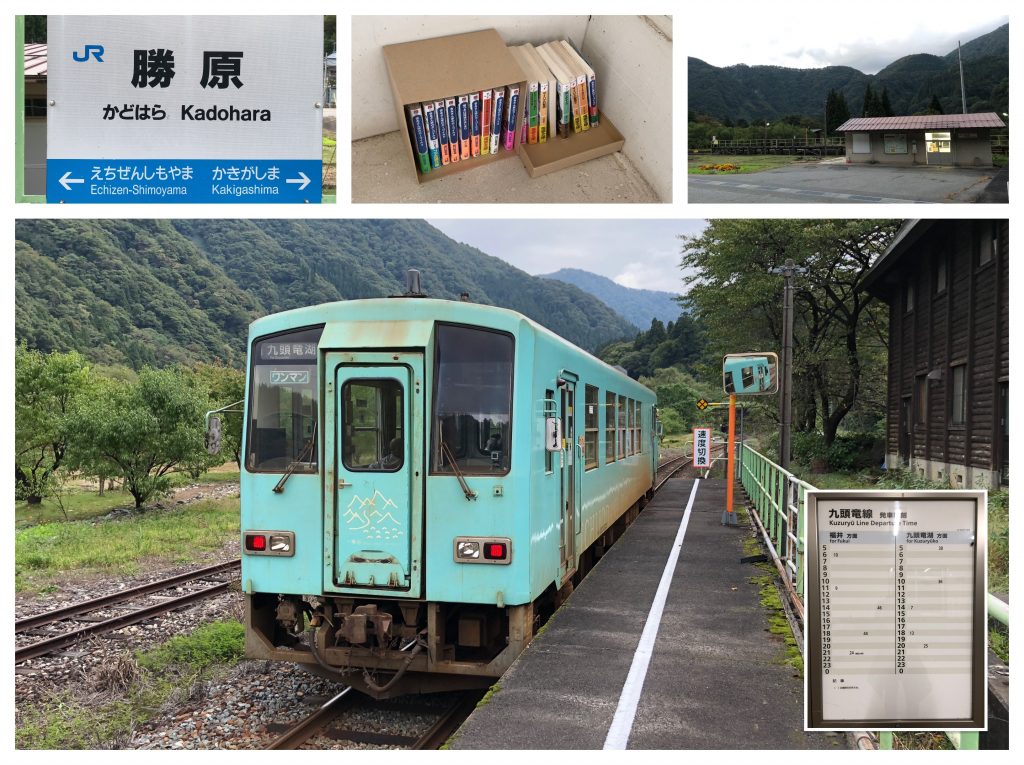
While Mount Arashima is located a bit far from everything, it is indeed possible to get there without a car. The JR Etsumihoku Line runs from Fukui (the city) up through the valley and makes stops a a bunch of smaller stations. Kadohara is the most convenient station to access Mt. Arashima. Be warned, the train leaves approximately 4 times a day with 3-4 hour intervals, so if you intend to do the complete hike you must be really efficient and in good shape unless you intend to spend the night at the station. A car is really recommended for this hike, but it is doable without if you are well prepared.
Hyakumeizan is a list originally prepared by famous Japanese mountaineer Kyuya Fukada. In 1964 he published the book “Nihon Hyakumeizan” – 100 Famous Japanese Mountains. Whilst the list was an expression of Kyuya’s personal favorites, it quickly became the most recognized list of famed Japanese mountains and a check-off list for many Japanese hikers.
Hiking Mt. Arashima
Lenght: 13km / 8mi round trip Elevation gain: 1265m / 4150ft Time: 5-7 hours Difficulty: medium-hard
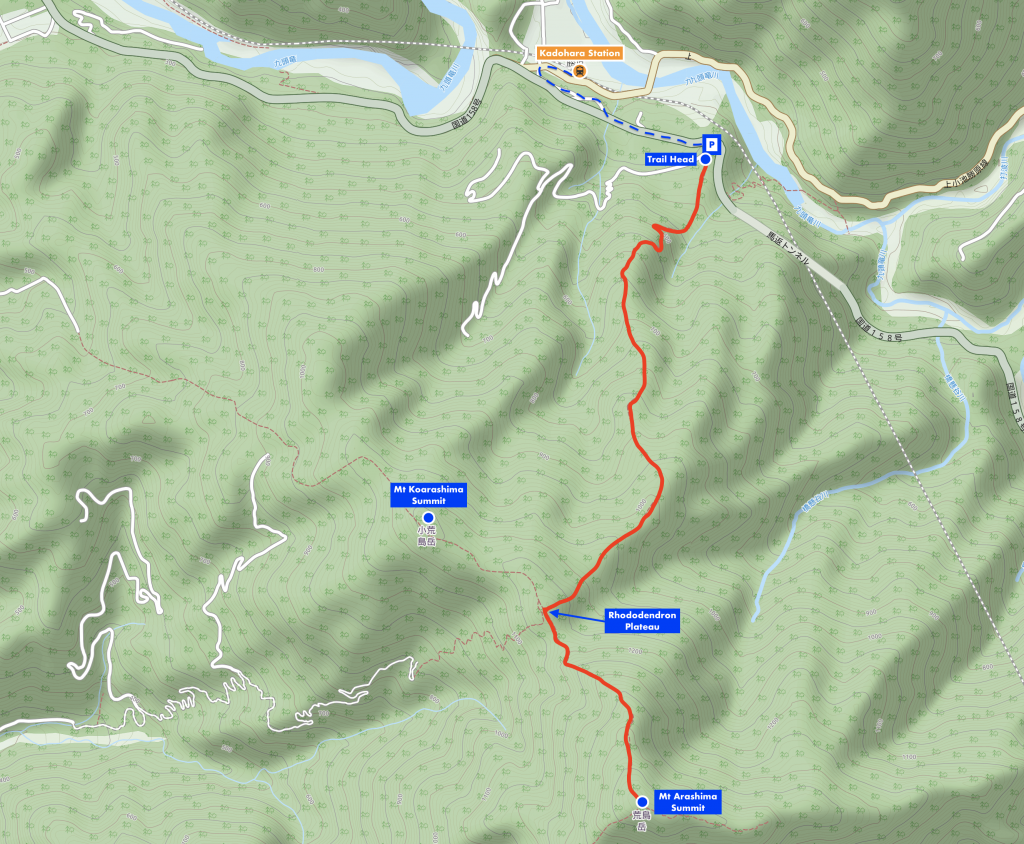
With the trail head at 340m (1115ft) above sea level and the summit of Mt. Arashima at 1523m (4997ft) this hike has a lot of up-hill hiking to offer. Actually, my experience was that there were barely any flat areas on this trail, so come prepared!
Practical information
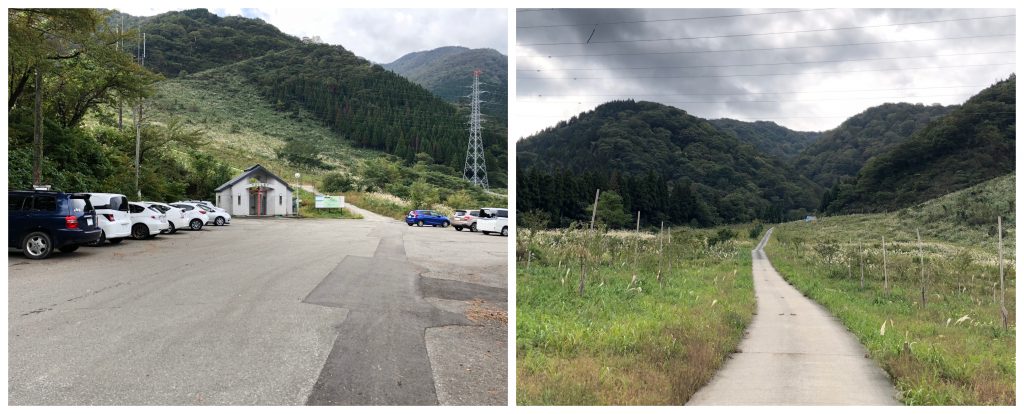
The hike starts at a parking lot, where a toilet is available. The parking lot is a good 20 minutes walk from Kadohara train station There is no drinking water or vending machines at the trail head or on the trail, so be sure to bring enough water with you. There are vending machines at the building next to the train station.
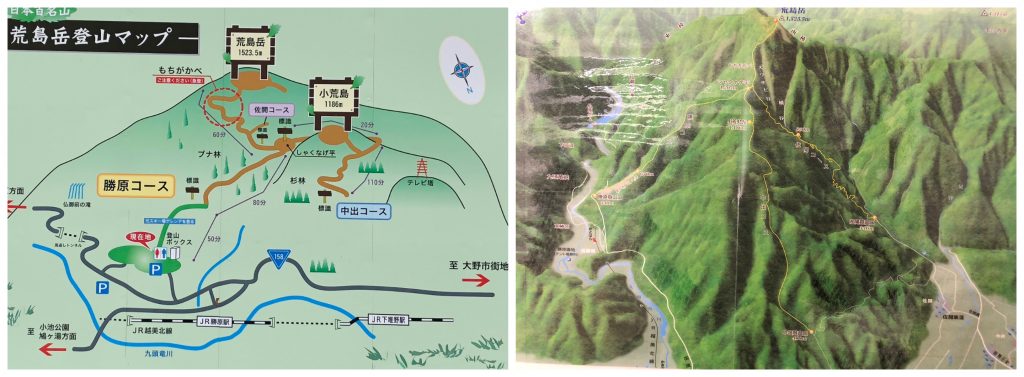
In the following description I will separate the trail into 4 different sections, determined by the progress, vegetation and trail styles: Concrete road, Bush trail, Forrest trail, Final ascent.
The Concrete Road
The first part of the hike is on a steep, boring concrete road. When I did the hike there was a small construction site at the top of the concrete road, and small trucks were running up and down the road. It’s not a very interesting start to the hike, but the experience quickly changes once you are past these few, steep hundred meters. The road is somewhat steeper than it appears in the photos. The elevation change is 100 meters over a relatively short trail.
Bush Trail
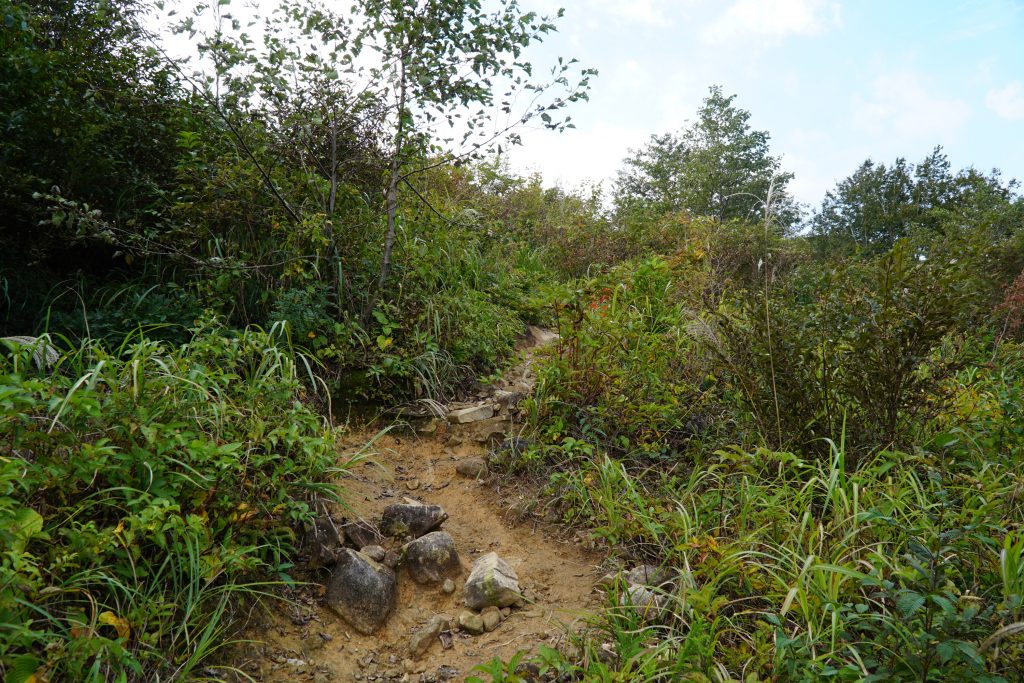
At the top of the concrete road, look right and you will find a small, rugged foot path leading up the side of the mountain. This path zig-zags it’s way up along the edge of the mountain through a bush-like vegetation, with the occasional view over the valley below. The path is not in a good condition, so step carefully.
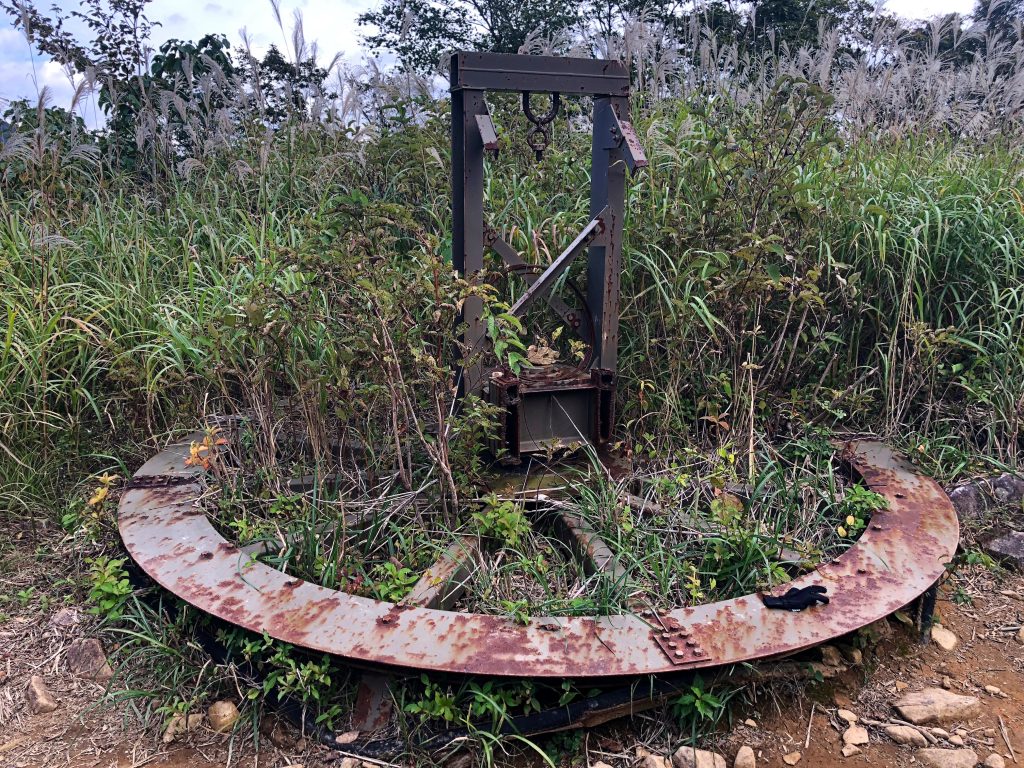
This section of the trail ends at a small flat area, where a big driving wheel of an old ski lift is rusting away on the ground. You are now about 1.2km (.75mi) into the hike. The open area is one of only two flat, open areas on the trail. If you need a quick rest, this is a good place. Don’t rest too long though, the hike has only just started.
Forrest Trail
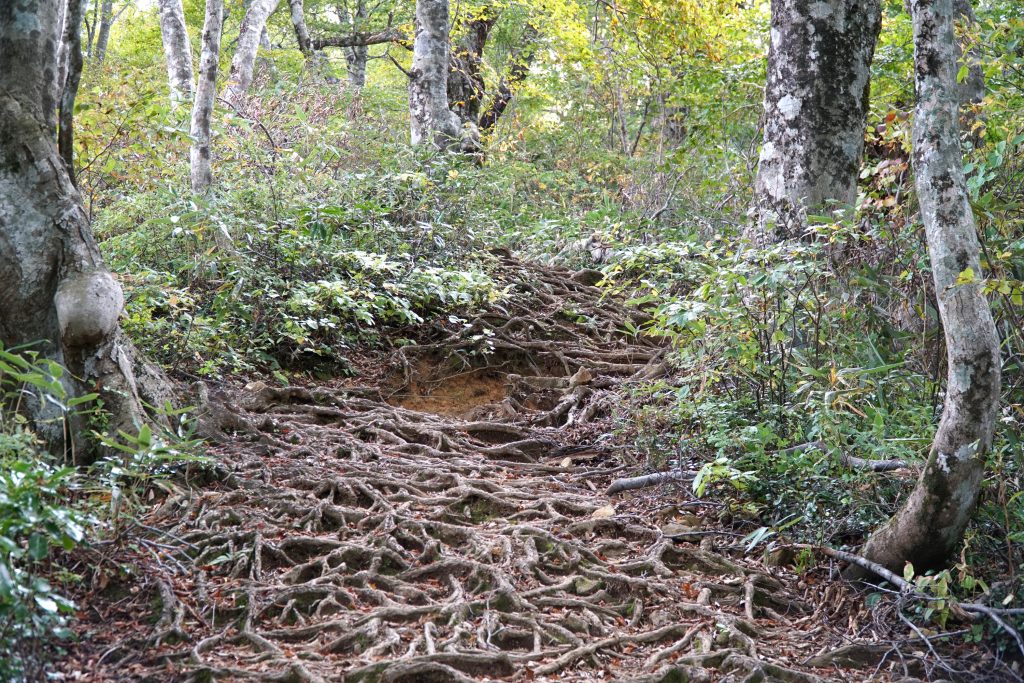
After leaving the open area with the old ski lift parts, you will enter the forrest. I’m sure the trees are a welcome change if you are hiking on a warm day. The path changes character again, to a more forresty type, with many old wooden steps which have rotted over the years or been destroyed during heavy rain. In some places the path is overgrown by roots, which is quite beautiful but not so easy to walk on.
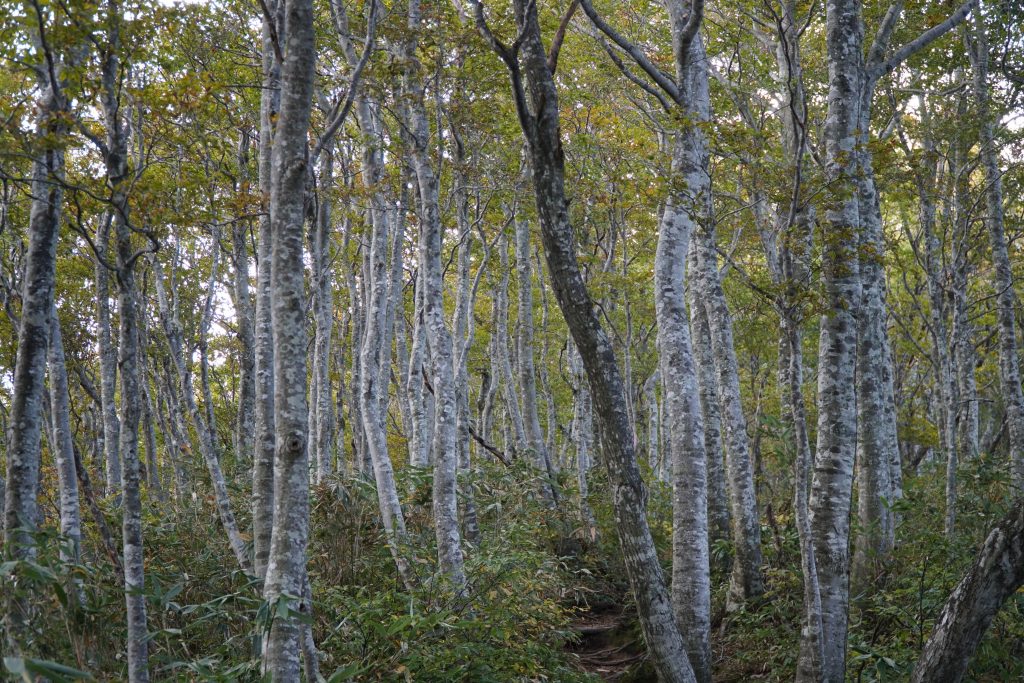
The hike through the forrest is absolutely stunning. The Japanese beech trees with their light colored bark and light foliage create an amazing atmosphere and a beautiful light around you.
Continuing your hike up through the forrest you will encounter changing conditions of the path, and trees which have fallen over it. This section which leads up to the Rhododendron Plateau is very steep, and can be a real challenge if you aren’t experienced.
The Rhododendron Plateau is a perfect place for a rest and have a snack. It’s a flat, open area with.. yes, Rhododendron.. Views are limited, even during fall season, but you can find a few places to peek out over the mountains and the valley.
Note: If you came by train, you should evaluate the time you have left when you reach the plateau. Night comes quickly, and you don’t want to hike down these paths in full darkness nor miss the last train.
Final ascent
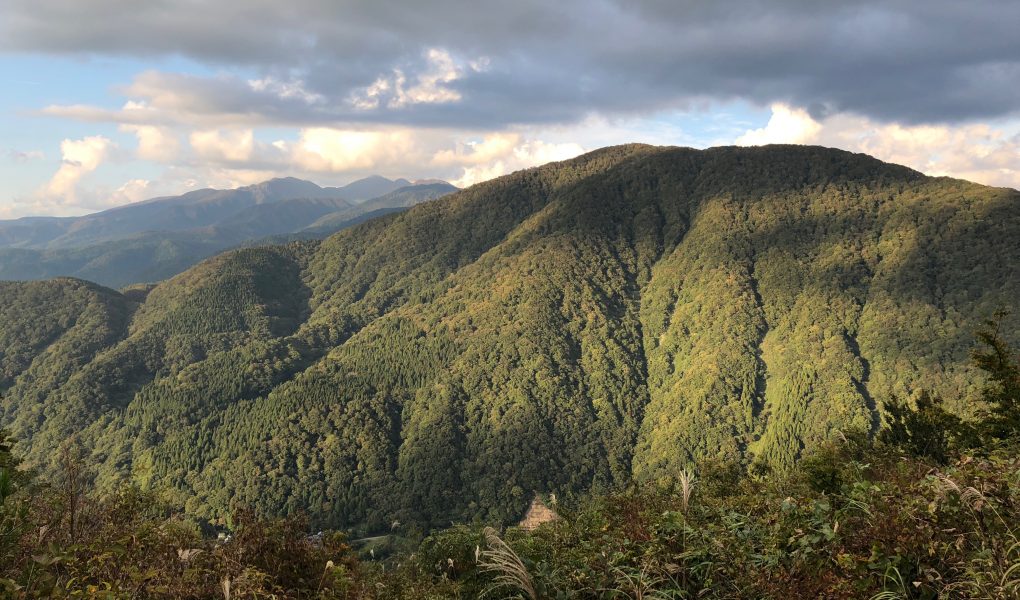
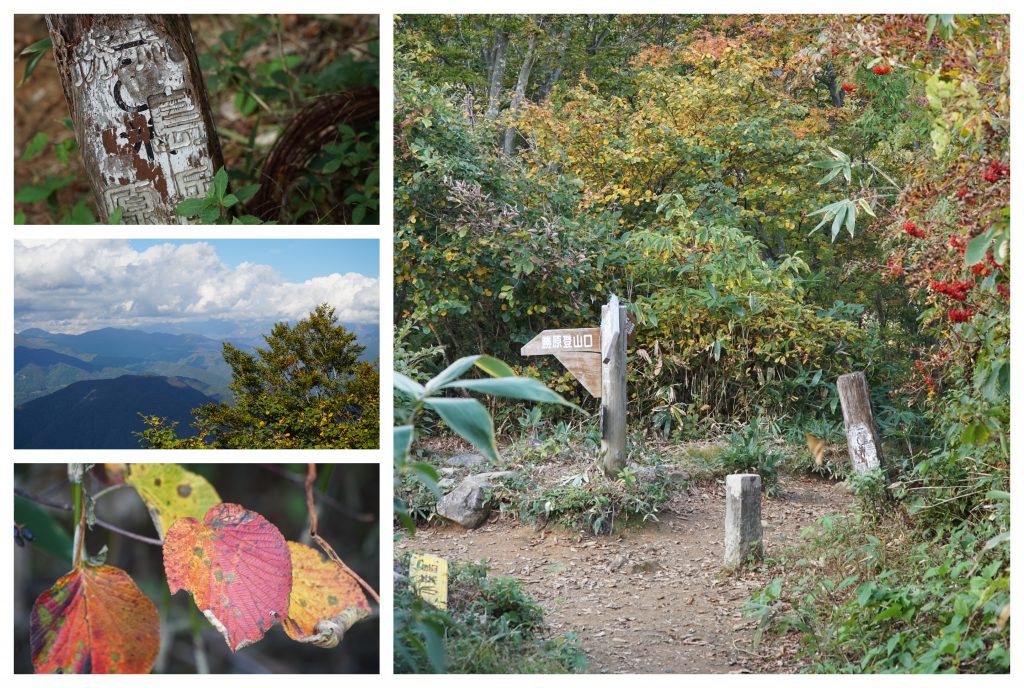
From the Rhododendron Plateau, the trail splits. To head directly to the summit, take the left path. If you have time you can take a detour to Mt Koarashima by taking the right path. The left path to the summit is even steeper and definitely not for beginners, so proceed with care. Ropes and chains are installed to make the ascent easier for hikers. At the top you will have beautiful views of the japanese alps and the surrounding mountains and valleys.
Getting there
By car: i highly recommend that you come by car if you intend to reach the summit. It’s possible to go by train, but you won’t get to start early enough to reach the top and get back down unless you are experienced. A parking lot is located at the trail head.
Coordinates for parking lot: 35.963773, 136.604331.
By train: The JR Etsumihoku Line runs from Fukui to Kadohara Station. The train is covered by the Japan Rail Pass. From Kadohara station it’s a 20minute walk to the trail head. Taking the train is not ideal if you intend to take the complete hike to the summit. The train leaves only about 4 times a day in each direction, the first train from Fukui arriving at 10:36 (2018) and the last train heading back to Fukui at 18:44.
